Translate

Wednesday, December 24, 2014

ALMOST DONE!!!!! Plaster pool, set up furniture and plant our Palm Trees. Thats it.

It has been the busiest month yet.  We are just approaching the 9th month of construction and have proven ourselves as a viable island contractor.  We have been very organized and have used some of the best subcontractors and laborers to construct this gorgeous villa and that is why we are at this stage in less than the usual "island construction time" of 12 months to 24 months.  In the last month, we have completed all tile work, including the showers, all of the exterior brick work on the veranda, walk ways and pool patio, packed and shipped our last container with the cabinets, stair material and furniture, shipped granite and appliances in from Florida and installed all of the same.  We have also  hooked up the airconditioners, installed light fixtures and ran the gas line for the high efficient hot water heater.  Yes...we have hot water.
 The travertine is breath taking.  Above is the great room.

Another picture of the great room
The front entry.  3" reclaimed Cyress door. Enough said.


 This is one of the 3 Master bedroom en-suite bathrooms with custom Barnwood cabinets, finished with unique wood tops, copper sinks and open air outdoor showers.


OK so onto our interior stair well.  We have climbed a ramp joining the main and lower level for months.  Once the plaster started we had to remove the ramp and replaced with a 12 ft ladder.  No one was happier than us to see the stairs arrive on island and be installed.  Below is a picture of the material which is very old 4X12 re-claimed barnwood beams that we used to construct our staircase. 


We flew in two of our friends, Cary and Greg, that are talented carpenters/contractors from Lake of the Ozarks to fabricate the stairs from these beautiful beams.  What a couple characters.

This is a picture of the stairs as you walk out of the lower bedrooms.  


The finished product is everything we thought it would be.  We have used metal spindles with an antique copper finish to add a touch of class to the stairs.  We still have to stain and apply a finish sealer to the stairs.

While all of that was going on, the cabinets were installed, also made of reclaimed wood.  They couldnt have turned out any better.  Below is the crate the holds our granite.  John's cousin in Holywood Florida, has friend from childhood that owns a granite company in south Florida.  We flew to Florida, selected our slabs and then had them shipped to St John.


They did a fabulous job fabricating the granite.

We flew in John's son Hunter to install the granite. He did an awesome job and had it all installed in basically one day.  Kitchen, powder bath and the laundry room.  Thanks Hunter and  Audrey for helping us clean and get organized.

This is the slab for the island.  It was 9 ft long and 4 feet wide.  It took 6 guys to carry the slab in to the villa.

Here is the finished product.  Its breath taking.  The island has a honed finish and is so beautiful.  Appliances have made it as well.  Cant wait to chill some beer in the fridge!  Below is a close up of the cabinets and granite.


This is a picture of the copper kitchen sink.  We love it!

All of the vanities are installed as well each with a custom copper sink.  All plumbing is hooked up, although this picture doesnt show the faucet. The tops in the 3 bathrooms have a liquid glass finish.


As stated earlier, All of the exterior brick pavers have been laid and are complete.  This is the view out of the main entrance highlighted with the native stone walls.  Like everything else, they turned out phenominal!


This is the view as you approach the main entrance.  It has turned out just as planned.

Here is a picture of the 30 by 25  pool area.  The tile work is complete in the pool and plaster should be done in the pool  by New years Eve.  As of today, the remainder of the bricks in the drain area have been complete and they have been acid washed and are now ready for furniture. 

 This is a view from the same vantage point but looking bach towards the villa.


And the final picture......Sunrise while sitting on the veranda.  It is so tranquil as the breeze blows and you hear the surf below.  The next post will have all of the frnishings in place. Soon come............


Thursday, November 27, 2014

Travertine is complete except for showers and final stonework has commenced


 This week is a quick post.  Driveway is complete as well as all of the travertine.  Here are a few pictures.  A new post to come this week with more detail and many more pictures.  Our last 40 ft. container left yesterday filled with kitchen cabinets and all of the furniture.  Granite is also enroute.  Have a Happy Thanksgiving
John & Denise


Sunday, November 16, 2014

Caribbean Palm Villa now on VRBO

We are happy to announce that Caribbean Palm Villa is now on VRBO.  Please pass on and share our link, we already have bookings for 2015.  All our friends who are event planners this island is a great honeymoon or destination wedding location.  Our new villa would offer a lovely spot for any special event. 

www.vrbo.com/633622


This home is now being offered for sale also....please email for information:
islanddenise70@yahoo.com
islandjohn66@yahoo.com


Saturday, November 15, 2014

Drive way is complete! Plaster is 95% complete and the Reclaimed Chicago Pavers and travertine are being laid!


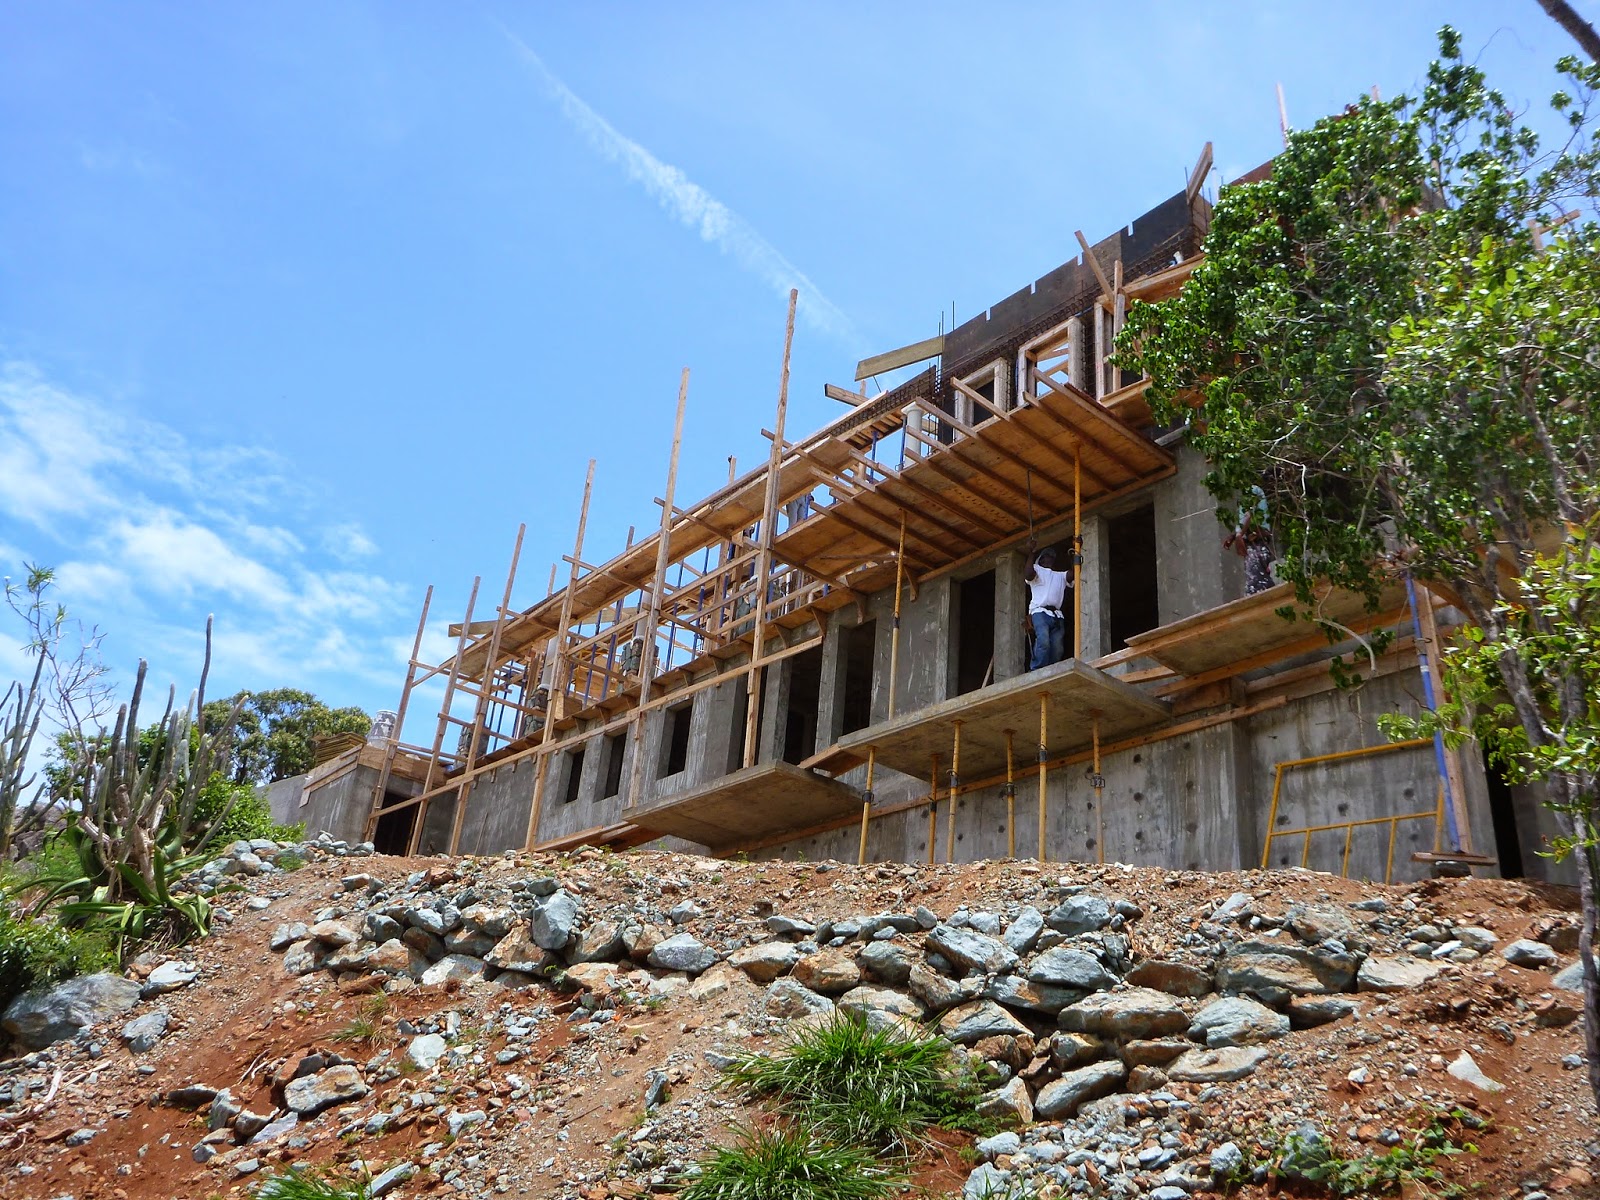
Well we ar definately in the home stretch.  The past few weeks have trnsformed this villa from a "concrete structure with a view" to an "absolutely gorgeous Pool Villa with a view".  This is a view we really have not shared until now.  All of the concrete is complete. AMEN!!!!!!!!!!   Even Denise was in for the finishing touches after a long day cutting our Reclaimed Chicago Brick Pavers in half for the Lanai/Veranda and the pool patio.  We have one of the few "flat" driveways on the entire island.  Couple that with only 2 steps to get into the villa, we are truley unique.


The men on the job get a kick out of Denise pitching in and getting dirty!

This happens to be a "before" shot of the driveway. Major transformation.

We are so lucky to be in prestigous Point Rendezvous and have fabulous 270 degree views.  We enjoy beautiful sunrises AND...

beautiful sunsets as well!!!!


So enough of the scnery shots...Denise included.  Since the last post we have virtually completed all of our colored plaster work.  It has turned out beautiful.  This is the great room looking towards the stairs.


The outside plaster really makes the villa "pop" 

This is a view from the nieghbors villa.  Notice you can see the ocean through the outdoor shower.


Below is a picture from the inside of the pool looking at the Lanai/Veranda

Once the plaster was completed we immediately started laying the Reclaimed Chicago Brick Pavers on the Lanai/Veranda.  The ocean is off to the left in this picture.


The picture above is a view out of one of the 5 - 10ft tall French doors in the Living/Dining area.
 Here is a better picture of the Lanai/Veranda.  You can actually see the textured finish we used on the entire villa.  
We also started the finishing touches on our three 11X5 balconies that compliment each Master Suite.  Its pretty awesome how we designed these outdoor areas to be "suspended" in mid air.

We have also begun the finishing touches inside.  We started laying our rustic travertine in a "French" pattern.  This is one of the 3 Master en Suite bathrooms.  The door is the entry to the private out door shower.

This picture is one of the 3 Master Suites.  This room is also complete.  Grout ,put door on hinges, hang a cieling fan and then add furniture.  We could not be any happier wuth our finishing selections. Below is a picture of the Great Room.  This was taken in the late afternoon and it depicts how bright and airy Caribbean Palm is all day long.

Over the next few days we should be wrapping up the tile work on the lower level and then moving up to this main level.  Its so exciting!

While all of the above is going on we have also started laying the stone retaining wall that leads you graciously to the entrance.  The walls are first constructed out of native stone, Chicago Reclaimed Brick Pavers, conch shells and coral.   Once complete, th joints are tuckpointed with smaller shells.  It isan awesome look.  Trust me.  Next time we post we should be almost done with the stone work


Wednesday, October 29, 2014

How far we have come in less than 7 months! 2 1/2 more to go!

We decided to put together some photos to create a timeline to show the progress we have made in a short time. Over the past year or so, we cleared all of the trees that would be in the way of constructing our villa.  We also cleared all of the "garbage" vegetation located in  our beautiful natural rock out croppings.  In the picture on the right we left one tree because of its location.  This tree was located approximately at the edge of the veranda and the "y" was the approximate height of the main level veranda.  We left it until we were ready to break ground so we had a decent vantage point during the final planning stages.
Once we were all ready to go, Denise got the honors to cut the tree.

The next step was to hire the surveying crew to locate the precise location of the villa.
This is one of the most critical moments of the entire project.  Its your only chance
to change the orientation of the villa.  Once the villa is staked and excavation begins
there is no turning back and changing things unless money is not an issue

Time to bring in the heavy machinery.  For all of you yankees on the mainland this is considered a relatively flat lot ha ha,                                                    The first part of the excavation was digging the two cisterns located underneath the ywo lower bedrooms.The picture below represents our first walls to be formed.  The room on the left is the pump room and the other two rectangles are the two cisterns.  We go up two stories from here.


All ready for concrete.  We laid down plywood so we could walk around while we poured the cistern walls.  Notice the OSHA approved pvc concrete shoot/


Concrete is poured and stripped and ready for backfill.

Here we are finishing the back fill and then excavating footings for the main level. Once that is complete we have to form for the structural concrete slab.  Another labor intense process.

We are all ready for the next pour.  The footimgs and slab are poued at the same time,  Look at all of the rebar and mechanical piping.  As early as this stage you must hace a plan for all of your gutter piping to the cisterns. this is because they run thru or under the slabs and in the walls.


All poured.  Now its time to form the lower level walls!

another vantage point


Once the walls are formed and braced , we get ready for the concrete pour. The amount of time and lumber to form all of this to be ready for concrete is staggering.  And then once poured we have to tear it all down and strip it off the concrete
Once stripped we backfill and begin preparations for the main level slab

After many man hours, rebar and all of the plumbing and electrical piping we are again ready for another pour.  This was one of our largest pours 100 ft long by almost 40 ft.  Thats almost a tenth of an acre.  Mind boggling actually 


This is the veranda at infancy.  The white pipe at the edge is one of our donwn spout feeds to the cistern.  It actually runs inside one of the columns and then to the cistern.  The pipe in thr foreground with the rebar is actually the kitchen island withe a sink
The beginning stages of setting the forms for the main floor walls.  The openings on the right represent the main entry


Once the forms are set we begin to frame the roof.  This is the largest and most time consuming concrete pout


Just like that all poured and stripped.  Here you can see the rafters are actually within the poutred walls to give us the best chance during a hurricane.  The next stage is to stain and varvish the beams, install the tongue and groove cypress then the plywood and last but not least a waterproof membrane before the clay tile roof is installed 
Turned out great! Below are some before and after photos.