Translate

Sunday, November 16, 2014

Caribbean Palm Villa now on VRBO

We are happy to announce that Caribbean Palm Villa is now on VRBO.  Please pass on and share our link, we already have bookings for 2015.  All our friends who are event planners this island is a great honeymoon or destination wedding location.  Our new villa would offer a lovely spot for any special event. 

www.vrbo.com/633622


This home is now being offered for sale also....please email for information:
islanddenise70@yahoo.com
islandjohn66@yahoo.com


Saturday, November 15, 2014

Drive way is complete! Plaster is 95% complete and the Reclaimed Chicago Pavers and travertine are being laid!


Well we ar definately in the home stretch.  The past few weeks have trnsformed this villa from a "concrete structure with a view" to an "absolutely gorgeous Pool Villa with a view".  This is a view we really have not shared until now.  All of the concrete is complete. AMEN!!!!!!!!!!   Even Denise was in for the finishing touches after a long day cutting our Reclaimed Chicago Brick Pavers in half for the Lanai/Veranda and the pool patio.  We have one of the few "flat" driveways on the entire island.  Couple that with only 2 steps to get into the villa, we are truley unique.


The men on the job get a kick out of Denise pitching in and getting dirty!

This happens to be a "before" shot of the driveway. Major transformation.

We are so lucky to be in prestigous Point Rendezvous and have fabulous 270 degree views.  We enjoy beautiful sunrises AND...

beautiful sunsets as well!!!!


So enough of the scnery shots...Denise included.  Since the last post we have virtually completed all of our colored plaster work.  It has turned out beautiful.  This is the great room looking towards the stairs.


The outside plaster really makes the villa "pop" 

This is a view from the nieghbors villa.  Notice you can see the ocean through the outdoor shower.


Below is a picture from the inside of the pool looking at the Lanai/Veranda

Once the plaster was completed we immediately started laying the Reclaimed Chicago Brick Pavers on the Lanai/Veranda.  The ocean is off to the left in this picture.


The picture above is a view out of one of the 5 - 10ft tall French doors in the Living/Dining area.
 Here is a better picture of the Lanai/Veranda.  You can actually see the textured finish we used on the entire villa.  
We also started the finishing touches on our three 11X5 balconies that compliment each Master Suite.  Its pretty awesome how we designed these outdoor areas to be "suspended" in mid air.

We have also begun the finishing touches inside.  We started laying our rustic travertine in a "French" pattern.  This is one of the 3 Master en Suite bathrooms.  The door is the entry to the private out door shower.

This picture is one of the 3 Master Suites.  This room is also complete.  Grout ,put door on hinges, hang a cieling fan and then add furniture.  We could not be any happier wuth our finishing selections. Below is a picture of the Great Room.  This was taken in the late afternoon and it depicts how bright and airy Caribbean Palm is all day long.

Over the next few days we should be wrapping up the tile work on the lower level and then moving up to this main level.  Its so exciting!

While all of the above is going on we have also started laying the stone retaining wall that leads you graciously to the entrance.  The walls are first constructed out of native stone, Chicago Reclaimed Brick Pavers, conch shells and coral.   Once complete, th joints are tuckpointed with smaller shells.  It isan awesome look.  Trust me.  Next time we post we should be almost done with the stone work


Wednesday, October 29, 2014

How far we have come in less than 7 months! 2 1/2 more to go!

We decided to put together some photos to create a timeline to show the progress we have made in a short time. Over the past year or so, we cleared all of the trees that would be in the way of constructing our villa.  We also cleared all of the "garbage" vegetation located in  our beautiful natural rock out croppings.  In the picture on the right we left one tree because of its location.  This tree was located approximately at the edge of the veranda and the "y" was the approximate height of the main level veranda.  We left it until we were ready to break ground so we had a decent vantage point during the final planning stages.
Once we were all ready to go, Denise got the honors to cut the tree.

The next step was to hire the surveying crew to locate the precise location of the villa.
This is one of the most critical moments of the entire project.  Its your only chance
to change the orientation of the villa.  Once the villa is staked and excavation begins
there is no turning back and changing things unless money is not an issue

Time to bring in the heavy machinery.  For all of you yankees on the mainland this is considered a relatively flat lot ha ha,                                                    The first part of the excavation was digging the two cisterns located underneath the ywo lower bedrooms.The picture below represents our first walls to be formed.  The room on the left is the pump room and the other two rectangles are the two cisterns.  We go up two stories from here.


All ready for concrete.  We laid down plywood so we could walk around while we poured the cistern walls.  Notice the OSHA approved pvc concrete shoot/


Concrete is poured and stripped and ready for backfill.

Here we are finishing the back fill and then excavating footings for the main level. Once that is complete we have to form for the structural concrete slab.  Another labor intense process.

We are all ready for the next pour.  The footimgs and slab are poued at the same time,  Look at all of the rebar and mechanical piping.  As early as this stage you must hace a plan for all of your gutter piping to the cisterns. this is because they run thru or under the slabs and in the walls.


All poured.  Now its time to form the lower level walls!

another vantage point


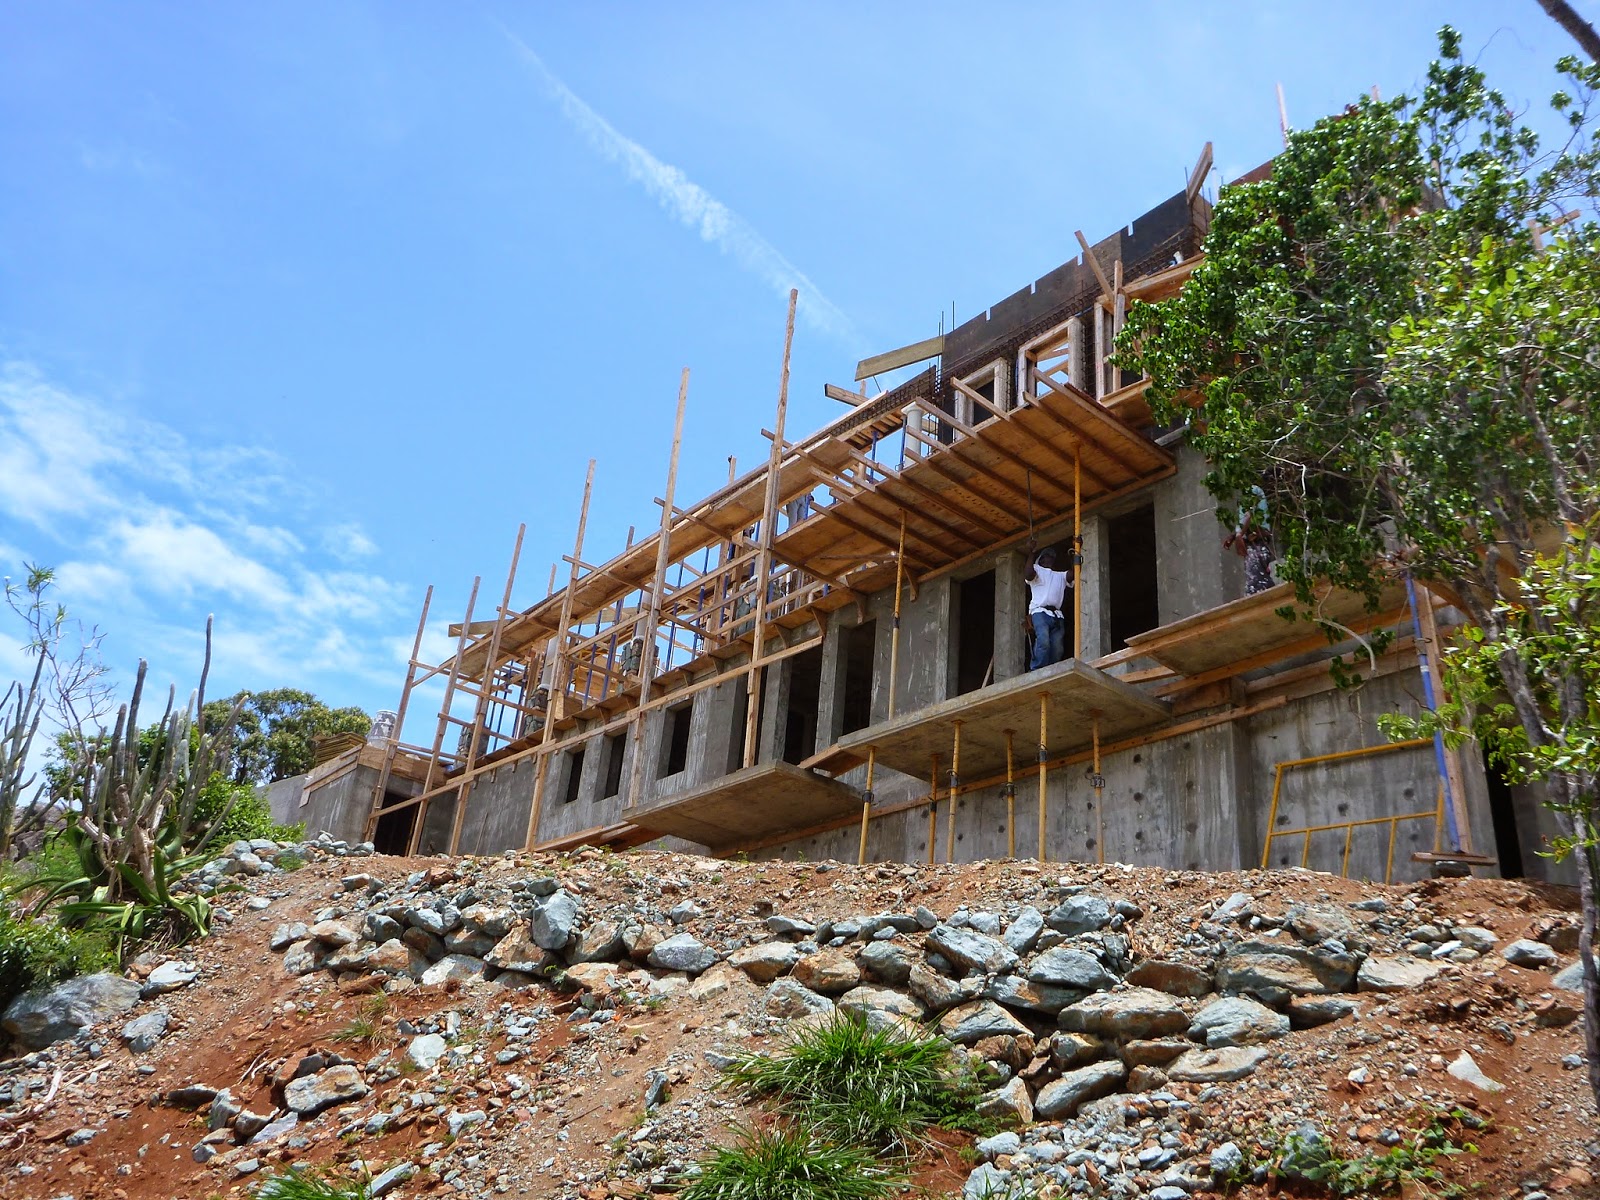
Once the walls are formed and braced , we get ready for the concrete pour. The amount of time and lumber to form all of this to be ready for concrete is staggering.  And then once poured we have to tear it all down and strip it off the concrete
Once stripped we backfill and begin preparations for the main level slab

After many man hours, rebar and all of the plumbing and electrical piping we are again ready for another pour.  This was one of our largest pours 100 ft long by almost 40 ft.  Thats almost a tenth of an acre.  Mind boggling actually 


This is the veranda at infancy.  The white pipe at the edge is one of our donwn spout feeds to the cistern.  It actually runs inside one of the columns and then to the cistern.  The pipe in thr foreground with the rebar is actually the kitchen island withe a sink
The beginning stages of setting the forms for the main floor walls.  The openings on the right represent the main entry


Once the forms are set we begin to frame the roof.  This is the largest and most time consuming concrete pout


Just like that all poured and stripped.  Here you can see the rafters are actually within the poutred walls to give us the best chance during a hurricane.  The next stage is to stain and varvish the beams, install the tongue and groove cypress then the plywood and last but not least a waterproof membrane before the clay tile roof is installed 
Turned out great! Below are some before and after photos.